When your HVAC system acts up, it can quickly disrupt the comfort of your home. Recognizing common HVAC problems early and understanding basic troubleshooting can save time, reduce inconvenience, and potentially avoid costly repairs. Supreme Heating and Cooling bring you this comprehensive guide to HVAC troubleshooting 101, designed to help homeowners identify symptoms, perform straightforward diagnostics, and know when professional intervention is essential.

Understanding Common HVAC Symptoms in Residential Systems
HVAC systems, composed of heating, ventilation, and air conditioning units, are subject to wear and tear, especially in varying climates where seasonal shifts can stress the components. In many homes, including those in regions with fluctuating temperatures, the following symptoms often signal the need for troubleshooting:
- Inconsistent Temperatures: Rooms that are too hot, too cold, or unevenly heated/cooled.
- Unusual Noises: Grinding, banging, rattling, or squealing sounds coming from your system.
- Poor Airflow: Weak or no airflow from vents even when the system is running.
- Increased Energy Bills: Sudden spikes without increased usage may indicate system inefficiency.
- Frequent Cycling: The system turns on and off more often than normal.
- Foul Odors: Musty or burning smells emanating from vents.
- Moisture or Leaks: Water pooling around HVAC units or excessive condensation.
Each of these issues can stem from different causes, so identifying the exact problem requires a methodical approach.
Basic Diagnostic Steps for HVAC Troubleshooting
Before calling a technician, some practical checks can help you understand what might be wrong with your system. Safe and simple diagnostic steps include:
- Inspect and Replace Filters: Dirty or clogged filters restrict airflow, causing poor performance and strains on your system. Filter replacement is a common solution.
- Check Thermostat Settings: Ensure the thermostat is on the correct setting for heating or cooling and that temperature settings are appropriate.
- Examine Circuit Breakers: A tripped breaker can interrupt power to your HVAC system; resetting it can restore function.
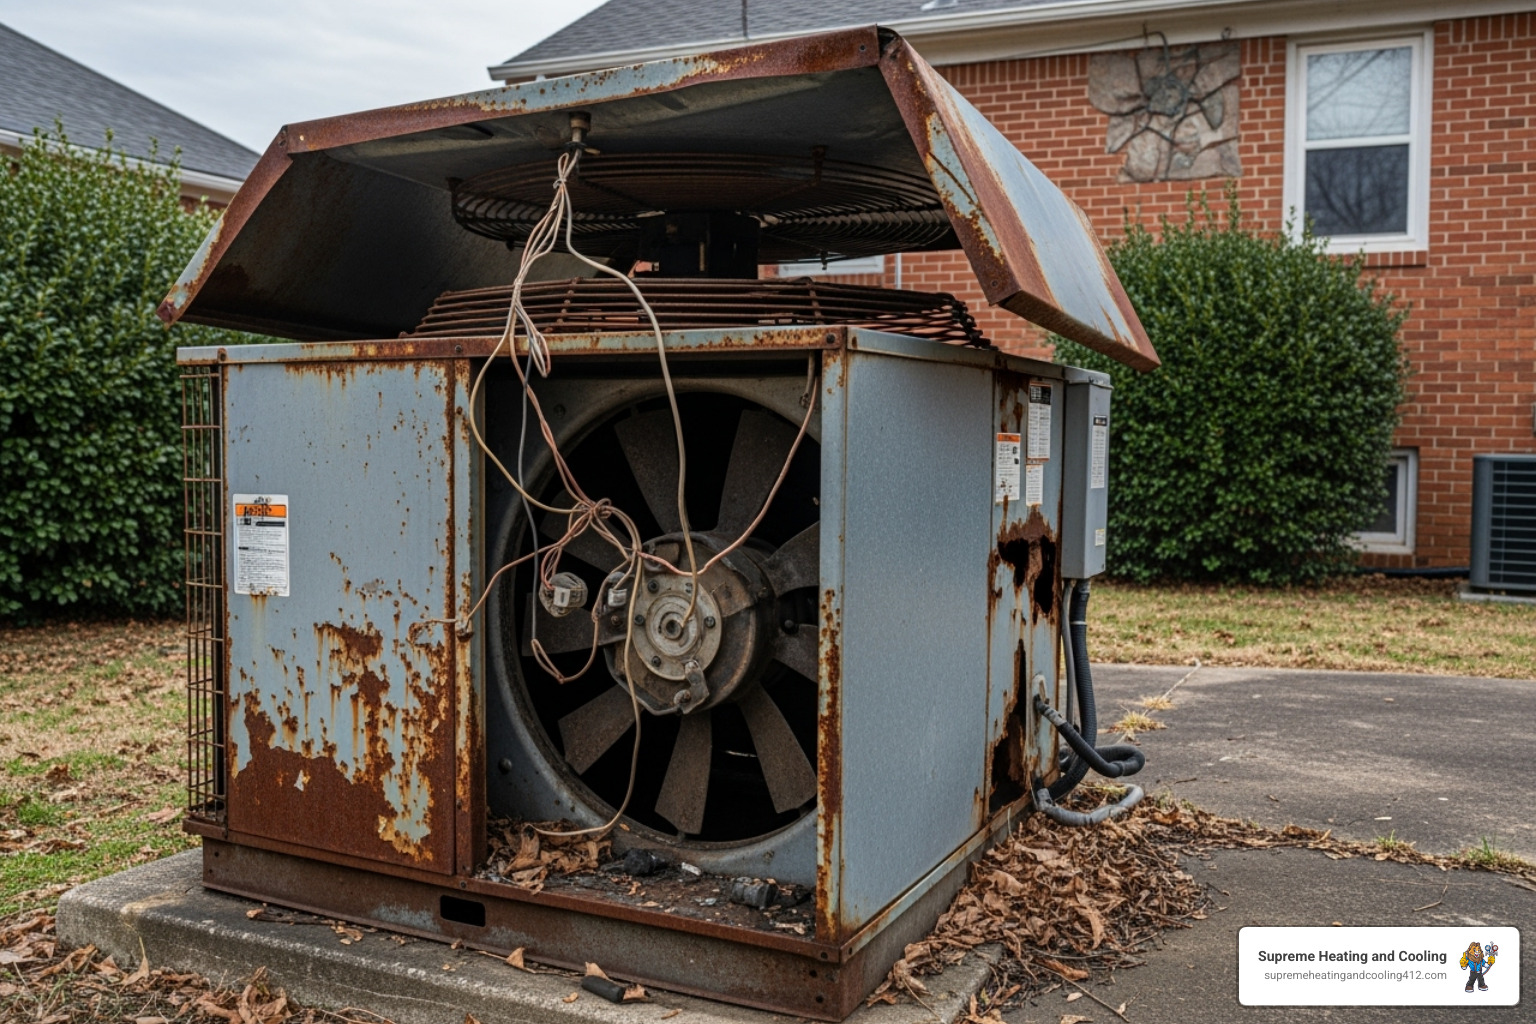
- Look for Outdoor Obstructions: Debris, plants, or dirt around the outdoor condenser unit can block airflow.
- Listen for Error Codes: Some modern HVAC units display error codes that indicate specific faults. Consult your unit’s manual for interpretation.
- Feel for Airflow at Vents: No airflow or weak airflow often points to blocked ducts or issues with the blower.
These steps are safe for most homeowners and can often resolve minor problems or better inform you when professional service is necessary.
Interpreting HVAC Noises and Error Codes
Noise is a key diagnostic clue. Different sounds can reveal distinct issues:
- Grinding or Screeching: Often linked to worn-out bearings, motor problems, or belt issues.
- Banging or Clanking: Could indicate loose parts, debris in the system, or compressor issues.
- Rattling: Usually caused by loose panels or ductwork.
- Clicking: Frequently relates to electrical components like relays or capacitors.
- Hissing: Suggests refrigerant leaks or pressure problems.
For HVAC systems equipped with digital displays or smart thermostats, error codes provide insight into internal faults such as sensor failure, airflow obstructions, or electrical malfunctions. Understanding your model’s specific error codes can expedite troubleshooting but always refer to professional diagnostics for complex codes.
When to Attempt DIY Fixes and When to Call a Professional
DIY fixes can be effective for minor issues but only when safety and confidence allow. Consider attempting the following on your own:
- Replacing or cleaning air filters.
- Resetting tripped breakers.
- Clearing debris from outdoor condenser units.
- Adjusting thermostat settings.
- Cleaning accessible vents or registers.
However, HVAC systems involve electrical components, refrigerants, and mechanical parts that require specialized skills. Call Supreme Heating and Cooling professionals for more complicated problems, such as:
- Persistent or unexplained noises.
- Refrigerant leaks and recharge.
- Compressor or blower motor repairs.
- Electrical system failures.
- Frequent cycling or complete system shutdown.
- Issues requiring diagnostic tools or disassembly.
Entrusting these tasks to licensed technicians ensures safe, accurate repairs and prevents system damage or personal injury.
The Importance of Timely HVAC Troubleshooting in Maintaining Home Comfort
In climates where seasonal extremes are common, prompt troubleshooting and maintenance of HVAC systems are especially critical. Delays in addressing HVAC issues can lead to:
- Increased energy consumption, raising utility bills.
- Reduced system lifespan due to overworking components.
- Poor indoor air quality from clogged filters or mold growth.
- Uncomfortable indoor environments impacting health and productivity.
- Expensive emergency repairs or full system replacements.
Regular inspection, preventive maintenance, and quick responses to warning signs guarantee efficient operation year-round and peace of mind.
How Supreme Heating and Cooling Supports Your HVAC Needs
Supreme Heating and Cooling offers expert diagnostics and thorough troubleshooting services tailored to prevent and resolve common HVAC issues. Our certified technicians use advanced tools and deep industry knowledge to:
- Accurately pinpoint problems.
- Explain findings in clear, understandable terms.
- Provide cost-effective repair solutions.
- Recommend upgrades or maintenance plans to enhance efficiency and reliability.
Our commitment to local homeowners ensures personalized service that considers regional climate challenges and home-specific conditions, helping sustain optimal system performance.
Tips for Preventive Care and Troubleshooting Readiness
To extend HVAC system life and prepare for efficient troubleshooting, consider these ongoing practices:
- Schedule bi-annual professional inspections before heating and cooling seasons.
- Maintain clean filters and replace them at recommended intervals.
- Keep outdoor units free from plants, leaves, and debris.
- Monitor your system’s energy use patterns for spikes.
- Educate household members on thermostat use and warning signs.
- Keep manuals and error code guides accessible for reference.
Being proactive allows you to catch and remedy issues early, amid seasonal demands.
HVAC Troubleshooting 101 demystifies common symptoms and everyday diagnostic steps while emphasizing the value of expert evaluation. Supreme Heating and Cooling stands ready to help your home maintain dependable comfort with skilled service attuned to your HVAC system’s unique needs.

.svg)

.webp)


.svg)
.webp)
.svg)
