
.svg)

.webp)
Smart thermostats have revolutionized how homeowners control their indoor climate, offering enhanced comfort, energy savings, and convenience. For homeowners seeking efficient temperature regulation, understanding the ins and outs of smart thermostat setup is crucial. Supreme Heating and Cooling provides expert insights into the benefits, compatibility, and installation of smart thermostats, helping you optimize your HVAC system with ease.
Benefits of Installing a Smart Thermostat
Smart thermostats go far beyond traditional temperature control. They adapt to your lifestyle and help reduce energy consumption while maintaining a comfortable home environment. Here are the primary advantages you can expect:
- Energy Efficiency: By learning your schedule and adjusting temperatures accordingly, smart thermostats minimize unnecessary heating or cooling, lowering utility bills.
- Remote Access: Control your thermostat from anywhere via smartphone apps, allowing pre-heating or cooling before you arrive home.
- Customized Comfort: Set different temperature zones or schedules tailored to different rooms or family members.
- Usage Insights: Detailed reports help you track energy use and identify opportunities for further savings.
- Integration with Smart Home Devices: Seamless compatibility with systems like Amazon Alexa, Google Assistant, or Apple HomeKit enhances overall home automation.
Compatibility with Different HVAC Systems
A key consideration before purchasing is ensuring your chosen smart thermostat works with your existing heating and cooling systems. Different HVAC setups require compatible control devices to function properly:
- Central HVAC Systems: Most modern smart thermostats support standard electric HVAC setups with systems that include furnaces, air conditioners, or heat pumps.
- Zoned HVAC Systems: For homes with multiple zones or dual-fuel setups, specialized thermostats designed for multi-zone compatibility may be necessary.
- Radiant Heating and Boilers: Some smart thermostats cater to low-voltage hydronic heating systems but always verify specific compatibility.
- Older or Non-Standard Systems: In cases where wiring or control protocols are outdated, a professional assessment can determine if conversion kits or adapters are required.
Supreme Heating and Cooling assists in evaluating your current HVAC infrastructure to recommend the most suitable thermostat option for your home.
Step-by-Step Guide to Smart Thermostat Setup
Setting up a smart thermostat may seem daunting at first, but following a methodical approach simplifies the process significantly. Below is a general overview of the steps involved:
- Turn Off Power to HVAC System: Safety first—switch off power at the circuit breaker to prevent electrical shock.
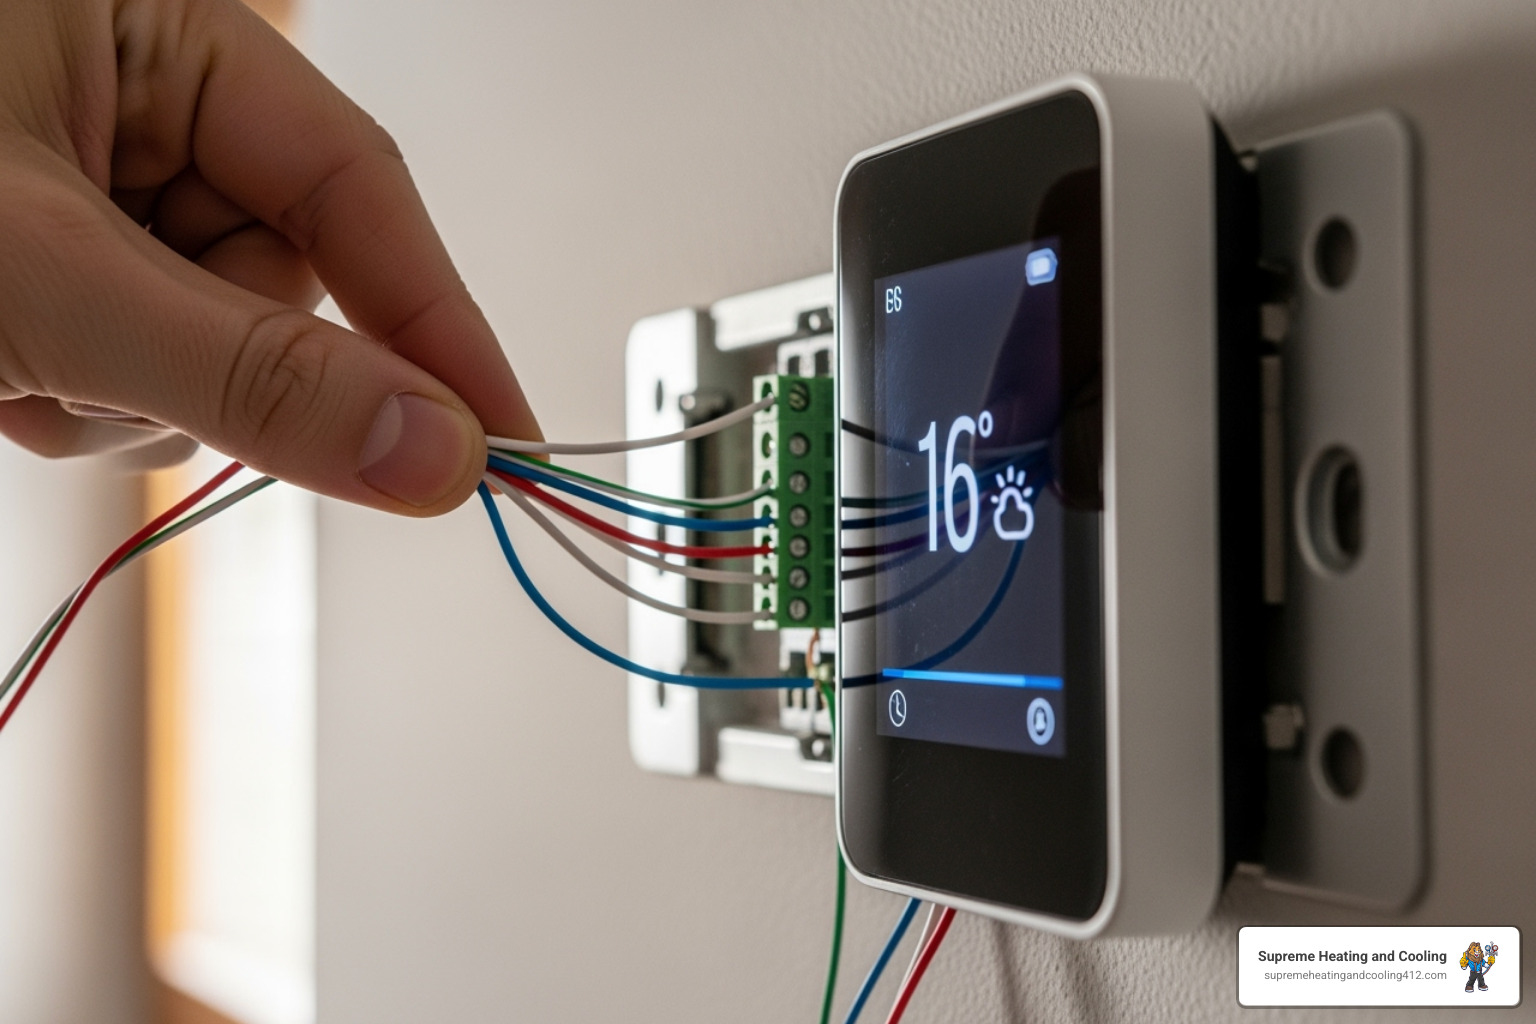
- Remove Existing Thermostat: Gently detach the old thermostat, carefully noting each wire's terminal and labeling if necessary.
- Check Compatibility and Wiring: Compare the wiring diagram of the new smart thermostat with your old setup to ensure all necessary wires match.
- Mount the Smart Thermostat Base: Attach the mounting plate to the wall, using a level to ensure proper installation.
- Connect Wires to the Smart Thermostat: Insert labeled wires into their designated terminals according to the installation manual.
- Attach Thermostat Display Unit: Secure the thermostat interface to the mounted base.
- Restore Power and Conduct Initial Setup Wizard: Turn power back on and follow on-screen instructions to connect to Wi-Fi and configure initial settings.
- Download Mobile App and Register Device: Set up your thermostat through the manufacturer’s app, enabling remote control and additional features.
While many homeowners successfully install smart thermostats themselves, Supreme Heating and Cooling offers professional installation services to ensure seamless integration and correct setup, especially for complex HVAC systems.
Energy-Saving Programming Tips for Maximum Efficiency
Once your smart thermostat is installed, optimizing your programming settings can further enhance energy savings and comfort. Consider these expert tips:
- Set Schedules Based on Occupancy: Program temperature adjustments for daytime hours when the home is empty and comfort settings for mornings and evenings.
- Use Eco or Away Modes: Engage energy-saving modes during vacations or extended absences.
- Adjust Temperature Gradually: Avoid large temperature swings that can strain HVAC equipment.
- Utilize Geofencing Features: Some models automatically adjust based on your smartphone’s location, ensuring energy savings without sacrificing comfort.
- Take Advantage of Adaptive Learning: Allow the thermostat to learn your preferences over time to optimize heating and cooling cycles.
- Regularly Monitor Energy Usage Reports: Use feedback from the thermostat to adjust settings and identify inefficient periods.
Remote-Access Features and Home Automation Integration
Smart thermostats provide unparalleled convenience by enabling remote operation and integration with home automation platforms:
- Control from Anywhere: Whether at work, running errands, or on vacation, you can adjust temperatures from your smartphone, tablet, or computer.
- Voice Commands: Many smart thermostats work with voice-activated assistants, allowing simple voice commands to adjust temperatures or change modes.
- Automation Routines: Link your thermostat with other smart devices like lighting, security systems, or window shades for coordinated home management.
- Alerts and Reminders: Receive notifications about filter changes, maintenance needs, or extreme temperature alerts, helping protect your HVAC system and home.
Professional Smart Thermostat Installation in Your Home
While DIY installation suits many, complicated HVAC setups or preferences for guaranteed performance benefit from expert installation. Supreme Heating and Cooling offers comprehensive installation services, ensuring proper configuration, system compatibility verification, and full setup of connectivity features.
Our technicians handle:
- Thorough system evaluation before installation
- Precise wiring and mounting ensuring safety and functionality
- Initial programming tailored to your household needs
- Demonstration of app usage and feature overview
- Post-installation support and maintenance recommendations
In areas with variable climate conditions, such as extreme summers or cold winters, professional installation ensures your smart thermostat maximizes comfort without risking system malfunction.
Why Invest in a Smart Thermostat for Your HVAC System?
Upgrading to a smart thermostat is an investment in both comfort and sustainability. Homes with intelligent climate control experience lower energy consumption, enhancing cost-effectiveness over time. This technology, combined with expert installation and configuration from Supreme Heating and Cooling, ensures your heating and cooling system operates at peak efficiency throughout the year.
Alongside immediate benefits like remote temperature control and usage insights, smart thermostats promote longer HVAC equipment lifespan by reducing unnecessary cycling and wear.
Maintenance and Troubleshooting Tips for Smart Thermostats
To keep your smart thermostat functioning optimally, consider these maintenance and troubleshooting suggestions:
- Regular Firmware Updates: Keep the device updated to access new features and security improvements.
- Wi-Fi Connectivity Checks: Ensure your home network is stable to maintain remote access capabilities.
- Clean Thermostat Interface: Wipe the screen and sensors gently to prevent dust interference.
- Reset Procedures: Learn how to reboot or reset the thermostat if it becomes unresponsive.
- Battery Replacement: Some models require periodic battery changes—even those connected to HVAC power systems.
- Professional Support: When issues persist, contact HVAC professionals for diagnosis related to wiring, system compatibility, or hardware defects.
Smart thermostat setup represents a pivotal upgrade for any modern home, merging comfort, control, and cost savings into one sophisticated package. Supreme Heating and Cooling’s expertise helps homeowners navigate installation, configuration, and efficient operation tailored specifically to their heating and cooling systems. With the right device and setup, you can transform your home’s climate control into a smart, seamless experience.


.svg)
.webp)
.svg)
