
.svg)

.webp)
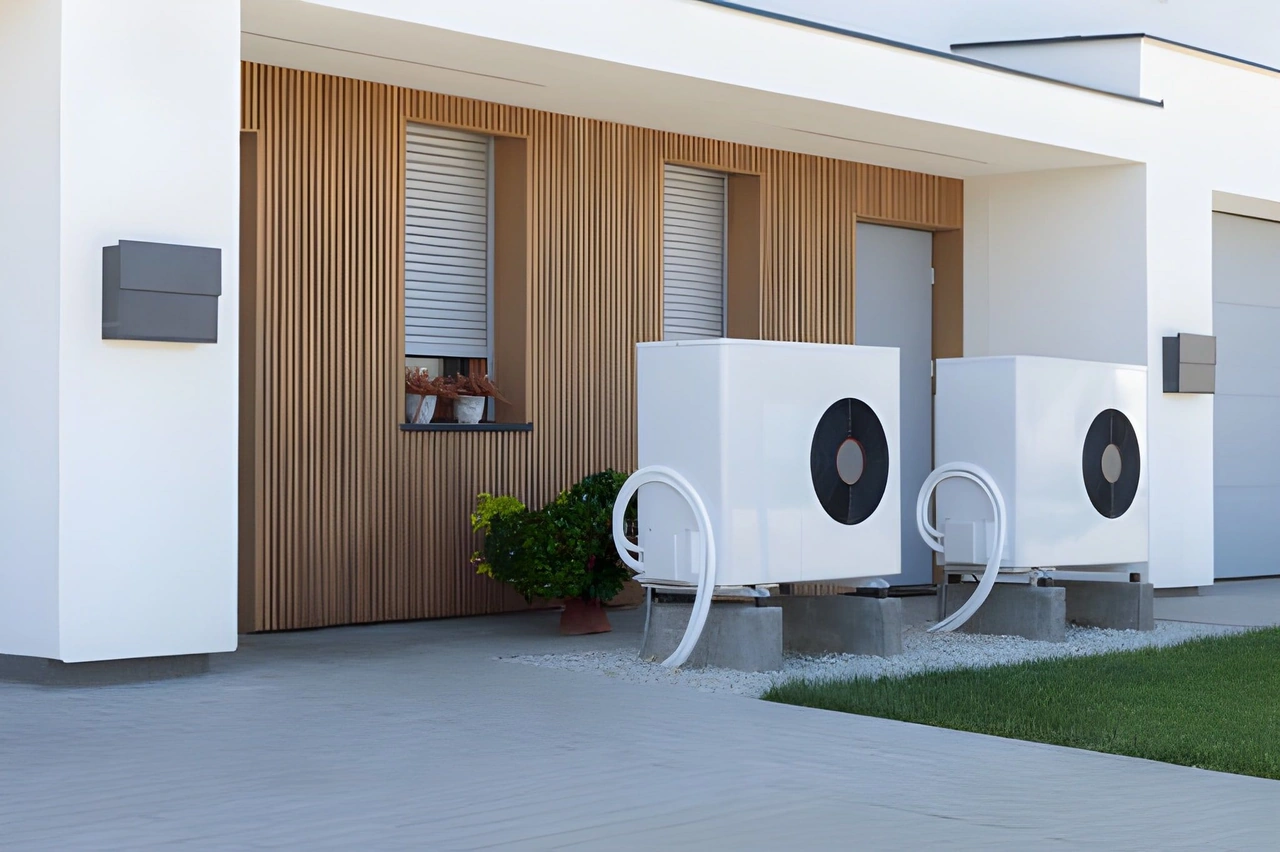
What to Know Before Your Mini Split Installation Day
How long does a mini split installation take? Here's the short answer:
| System Type | Number of Indoor Units | Typical Installation Time |
|---|---|---|
| Single-zone | 1 | 4 to 8 hours (one day) |
| Dual-zone | 2 | 1 to 2 days |
| Tri-zone | 3 | 1 to 2 days |
| Quad/multi-zone | 4 to 5 | 2 to 3 days |
Most homeowners can expect their single-zone system to be up and running within a single workday. Multi-zone setups take longer depending on how many indoor units are involved and how complex the installation site is.
That said, every home is different. Older construction, thick masonry walls, long refrigerant line runs, or electrical panel upgrades can all add time to the job. Knowing what to expect ahead of your installation day helps you plan better and avoid surprises.
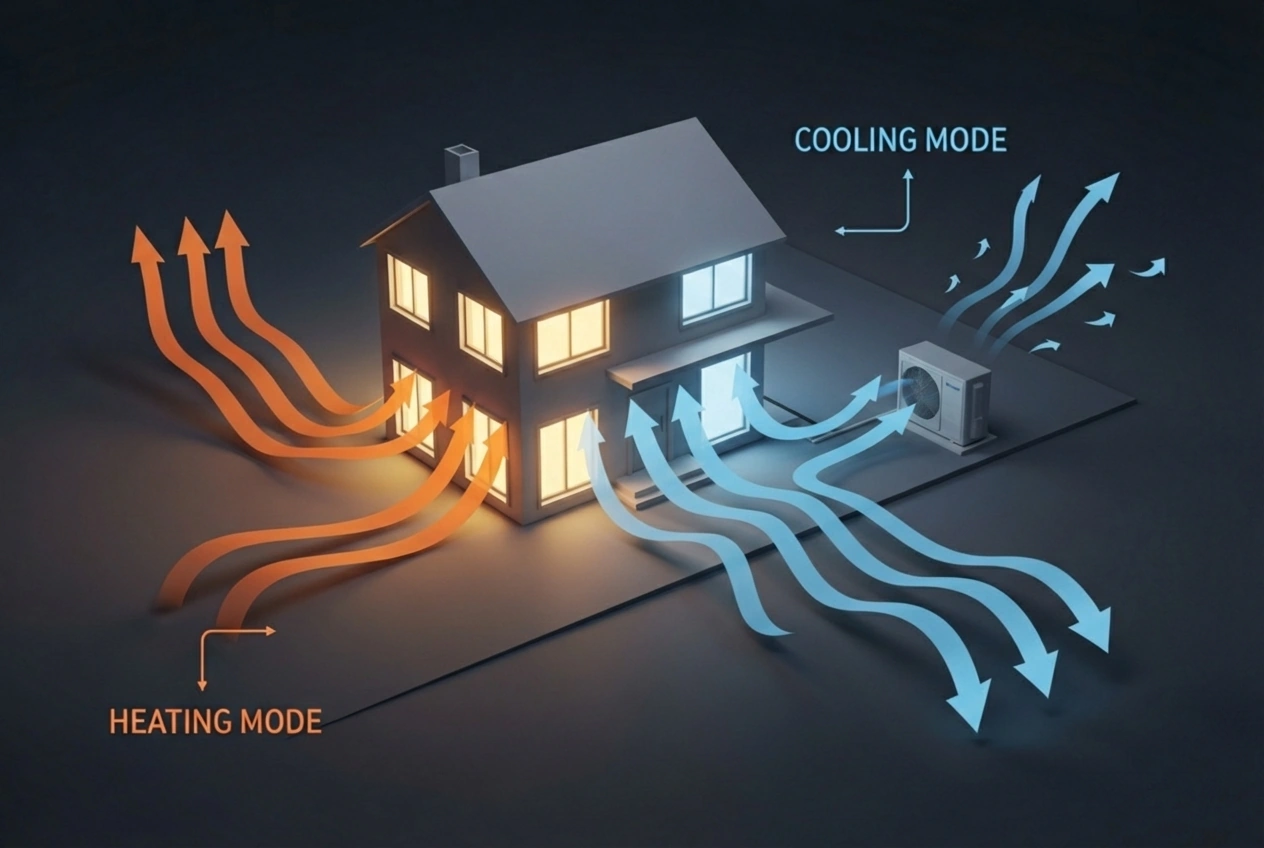
How Long Does a Mini Split Installation Take?
When you decide to upgrade your home’s heating and cooling, timing is everything. No one wants their daily routine disrupted for weeks on end. Fortunately, one of the greatest advantages of choosing ductless technology is the relatively quick turnaround. Because these systems bypass the need for extensive, messy ductwork retrofits, we can complete most installations in a fraction of the time it takes to install traditional central HVAC systems.
To answer the core question—how long does a mini split installation take—we must look at the scope of your project.
The Single-Zone Timeline: Swift and Streamlined
For a standard single-zone system (which consists of one outdoor condenser connected to a single indoor air handler), the process is remarkably fast. On average, a professional two-man crew can complete a single-zone installation in 4 to 8 hours.
If we are mounting the indoor unit on an exterior wall with straightforward access to the outdoor condenser directly below it, we might even wrap up the job in under five hours. This means you can go to work in the morning and return home in the afternoon to a perfectly climate-controlled room. This quick setup makes single-zone units incredibly popular for targeted comfort solutions, such as heating or cooling a newly finished basement, a sunroom, or a garage workshop.
The Multi-Zone Timeline: Scaling Up for Whole-Home Comfort
If you are looking to zone your entire house, the project naturally requires more time. Multi-zone systems connect multiple indoor air handlers to a single, larger outdoor condenser. Each indoor unit requires its own mounting bracket, a dedicated wall penetration, refrigerant lines, communication wiring, and a condensate drain line.
- Two-Zone Systems: In most cases, installing two indoor units can still be accomplished in a single, full day (typically 6 to 10 hours of active labor) by an experienced crew.
- Three-Zone Systems: A tri-zone setup generally bridges the gap between one and two days. Depending on how far apart the indoor units are from the outdoor condenser, expect this to take 1 to 2 days.
- Four- to Five-Zone Systems: For comprehensive, multi-room comfort, a large-scale system with four or five zones will typically require 2 to 3 days to complete. This is especially true if we are running lines through attics, crawlspaces, or behind walls to keep the exterior of your home looking clean and tidy.
By understanding the differences between these configurations, you can choose the right design for your household's needs. To learn more about how these systems function in different residential layouts, check out our guide on Ductless Mini Splits in Homes.
Key Factors That Influence Your Ductless Timeline
While the timelines outlined above serve as excellent general benchmarks, your home’s unique architecture and layout play a massive role in the final clock count. During our initial site visit, we look closely at several variables that can either speed up or slow down the installation process.
1. Wall Material and Core Drilling
To connect the indoor air handler to the outdoor condenser, we must drill a three-inch hole through your home’s exterior wall. If your home has standard wood siding, vinyl siding, or drywall, this process takes mere minutes.
However, many classic homes in areas like Swissvale, Aspinwall, and Greensburg feature thick, sturdy brick, stone, or concrete exteriors. Drilling through several inches of historic Western Pennsylvania masonry requires specialized diamond-core drill bits, heavy-duty rotary hammers, and a steady, patient hand to avoid damaging the surrounding facade. Core drilling through tough masonry can easily add an hour or two to the installation timeline.
2. The Length and Complexity of Line Set Runs
In a perfect "back-to-back" installation, the indoor unit sits directly on the opposite side of the wall from the outdoor condenser. The line set (which houses the copper refrigerant pipes, electrical wiring, and drain line) only has to travel about 15 feet.
If we need to place the indoor unit in a room that does not share an exterior wall, we must route the line set through closets, joist bays, attics, or crawlspaces to reach the outside. Long line runs—especially those exceeding 25 to 50 feet—require additional mounting hardware, careful insulation, and extra refrigerant charging. This detailed routing work adds precision labor and time to the project.
3. Electrical Panel Capacity and Upgrades
Every ductless mini split system requires a dedicated 220V/240V circuit running from your main electrical panel to an outdoor disconnect switch located near the condenser.
If your electrical panel has open slots and can handle the additional load, running this wire is relatively straightforward. However, if you live in an older home with an outdated or fully loaded electrical panel, we may need to perform a panel upgrade or install a subpanel. An electrical panel upgrade can add anywhere from 2 to 4 hours to the installation day, and in some cases, may require coordinating with local utility inspectors to ensure everything is fully up to code.
4. Site Accessibility and Physical Obstacles
Our installation crews need safe, clear access to both the indoor mounting zones and the outdoor condenser site. If the outdoor unit is going on a steep hillside, a narrow alleyway, or requires a custom wall-mounting bracket high off the ground, the physical setup will take longer.
Common Site Accessibility Challenges:
- Overgrown Landscaping: Thick shrubs, heavy tree roots, or wild ivy blocking the outdoor condenser area must be cleared before we can pour a concrete pad or mount a ground stand.
- Multi-Story Routing: Running line sets up to a second or third-story bedroom requires working safely on tall extension ladders or scaffolding, naturally extending the time needed for secure mounting.
- Interior Obstacles: Large, heavy furniture (like china cabinets or pianos) blocking the ideal indoor mounting wall can delay the start of the job if they aren't moved ahead of time.
To ensure your installation day goes as smoothly as possible, review these Expert Tips on How to Ensure a Smooth and Efficient Mini Split Installation.
Step-by-Step Breakdown of the Professional Installation Process
To understand exactly why a professional mini split installation takes several hours, it helps to look at the meticulous steps involved. Every phase of the process is designed to maximize system efficiency, protect your home’s structural integrity, and preserve your manufacturer’s warranty.
Step 1: Pre-Installation Site Assessment
Before any tools are unpacked, our technicians perform a final walkthrough of your home. We confirm the ideal locations for the indoor air handlers to ensure optimal airflow and comfort. We also verify that the outdoor condenser location complies with local building codes, provides at least 12 to 24 inches of clear space for proper ventilation, and sits on a level surface.
Step 2: Mounting the Indoor Wall Bracket
Once the location is finalized, we secure the metal mounting plate to your interior wall. This step requires precision; the bracket must be perfectly level and anchored securely to the wall studs. A slightly tilted unit can prevent the condensate water from draining properly, leading to water leaks down your wall.
Step 3: Drilling the Wall Penetration
We drill a precise three-inch hole through the wall at a slight downward angle. This downward slope is critical because it allows gravity to naturally carry the indoor unit's condensation out of your home through the drain line. Once drilled, we insert a protective plastic sleeve into the hole to prevent the sharp edges of the wall materials from rubbing against the line set.
Step 4: Running and Connecting the Lines
With the wall sleeve in place, we carefully feed the copper refrigerant lines, control wiring, and drain tubing from the indoor unit through the wall to the outside. We then mount the indoor air handler onto its bracket. On the outside of your home, we route these lines neatly down the exterior wall, securing them inside an aesthetic, weatherproof line set cover (often called a "line hide") that matches your home’s siding.
Step 5: Setting the Outdoor Condenser
We position the outdoor condenser on a heavy-duty, level composite pad or secure it to your home’s foundation using a robust wall-mounting bracket (especially helpful in areas prone to snow accumulation). We then connect the copper refrigerant lines to the outdoor service valves, using a calibrated torque wrench to ensure the quick-connect fittings are perfectly sealed. This step is vital—loose fittings are the number-one cause of slow refrigerant leaks over time.
Step 6: The Critical Deep Vacuum and Pressure Test
This is the step that separates the true professionals from the rushed amateurs. Before we release any refrigerant into the system, we must ensure the lines are entirely free of air, nitrogen, and moisture.
- First, we pressurize the lines with dry nitrogen to verify there are absolutely no leaks at the joint connections.
- Next, we connect a specialized vacuum pump and a digital micron gauge to pull a deep vacuum of 300 to 500 microns. We hold this vacuum for at least 30 minutes. If the gauge holds steady, it proves the system is 100% sealed and dry. Moisture left in a refrigerant line can freeze, mix with system oil to form destructive acids, and ultimately destroy the compressor.
Step 7: Electrical Hookup and System Commissioning
While the vacuum pump is running, we complete the electrical work. We run a dedicated line from your panel to the outdoor disconnect box, and then connect the high-voltage power to the condenser. Once the vacuum test is successfully completed, we open the service valves to release the pre-charged refrigerant into the lines.
Finally, we turn on the power and run the system through its paces, checking temperature splits, testing the remote control features, and verifying that the condensation drains freely.
For a deeper dive into this entire process, you can explore our detailed guides: Mastering Mini Split Setup: A Step-by-Step Guide and What to Expect During a Ductless Mini Split Installation.
Frequently Asked Questions About Ductless Timelines
We know you want to be fully prepared for your installation day. Here are some of the most common questions homeowners ask us about the timeline and scheduling of their ductless projects.
How long does a mini split installation take for a single-zone system?
A standard single-zone system typically takes 4 to 8 hours to install. Because it only involves a single indoor air handler and one outdoor unit, it is a very quick setup. In most cases, our team can arrive in the morning and have your new system fully operational, tested, and ready to keep you comfortable by mid-afternoon.
To ensure your system is installed safely and to protect your long-term warranty, hiring a professional team is always the smartest move. Discover the details in our article on Professional Mini Split Installation: Why It's Worth the Investment.
How long does a mini split installation take when adding multiple zones?
Multi-zone systems generally take between 1 to 3 days to install. The exact duration depends on the number of indoor units (zones) you are adding and the complexity of the line routing. For example, a two-zone system with straightforward back-to-back runs can easily be completed in one day.
However, a four-zone system that requires running copper lines through attic spaces, around tight corners, or down multiple stories will require two to three days of meticulous labor to ensure everything is mounted securely and looks visually clean on your home's exterior.
What can homeowners do to speed up the installation process?
While our professional technicians handle all the heavy lifting, drilling, and technical calibration, there are a few simple things you can do to help us work as efficiently as possible.
How to Prepare Your Home:
- Clear the Work Areas: Move any furniture, wall decorations, or fragile items away from the walls where the indoor units will be mounted. We recommend keeping a clear six-foot radius around the work zones.
- Provide Outdoor Access: Trim back any overgrown bushes, weeds, or tree branches around the area where the outdoor condenser will sit.
- Unlock Key Areas: Make sure we have clear, unobstructed access to your main electrical panel, basement, crawlspace, or attic.
- Secure Your Pets: Keep your furry family members in a safe, quiet room away from the noise and open doors during the installation process.
Conclusion
Upgrading your home’s comfort with a ductless mini split is one of the fastest and most efficient HVAC improvements you can make. Whether you are looking to cool a single hot spot in your home with a quick, one-day single-zone setup, or you want to transform your entire living space with a multi-zone system over the course of a weekend, our team is here to make the process completely stress-free.
At Supreme Heating and Cooling, we pride ourselves on providing friendly, knowledgeable, and non-pushy service to our neighbors throughout the greater Pittsburgh area. From historic homes in Swissvale and Aspinwall to newer constructions in Monroeville, Bethel Park, and Penn Hills, we have the local expertise to handle any installation challenge with ease.
If you are ready to enjoy quiet, energy-efficient comfort all year long, we are ready to help. Check out our specialized local services to get started:
- Learn more about our customized Mini Split Installation Pittsburgh PA solutions.
- Explore options for your home with Mini Split Installation Penn Hills PA.
- Ready to schedule your home assessment? Visit our main Supreme Heating and Cooling Mini Split Services page today to connect with our friendly team!


.svg)
.webp)
.svg)
